Custom Widgets
Step-by-step instructions on how to add SEwidgets to your StreamElements overlay and OBS.
Step 1: Create a New Overlay
- Open your StreamElements Overlays page.
- Click "Add New Overlay".
- Select your preferred resolution (1080p recommended).


Step 2: Add the Custom Widget
The Custom Widget is a native StreamElements widget that allows you to use your own HTML, CSS, and JavaScript. This is what SEwidgets.com uses.
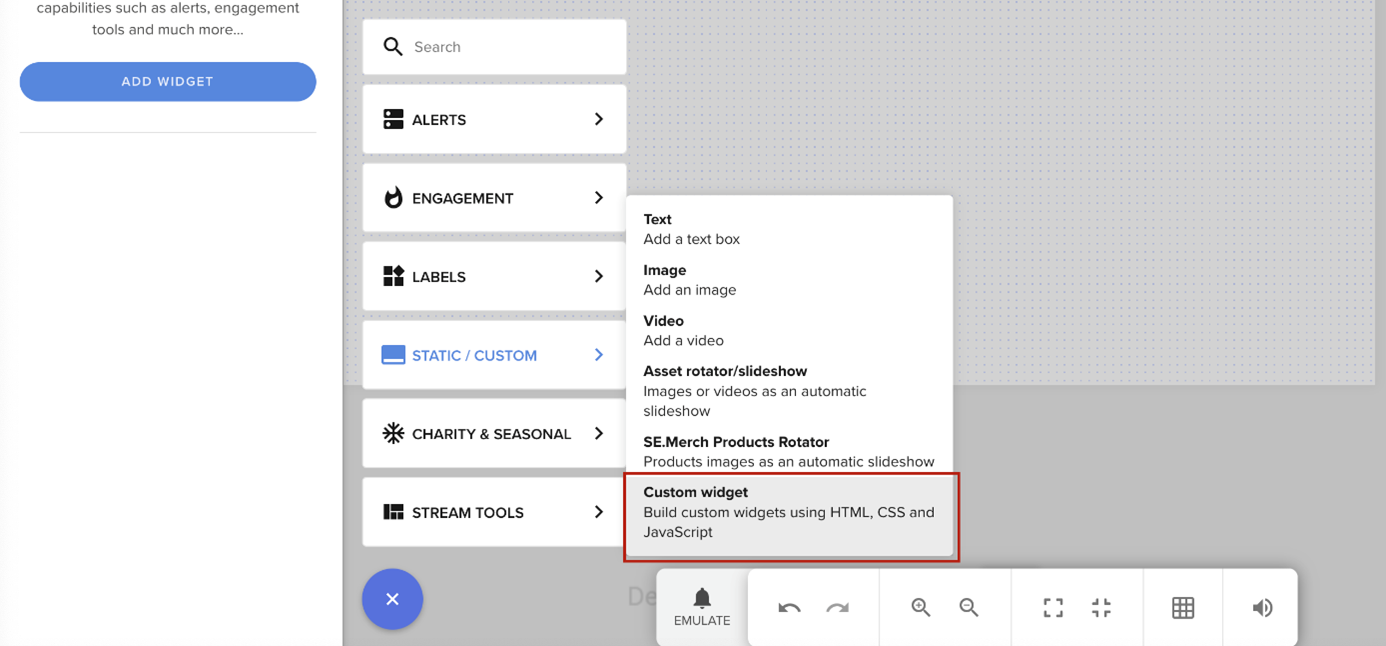
- Click the + button in the bottom-left of the overlay editor.
- Select Custom Widget from the STATIC/CUSTOM section.
- IMPORTANT: Delete all the codes that are already in all the tabs (HTML, CSS, JS, FIELDS & DATA). You must start with empty fields.
- Go to the SEwidgets.com widget you want to install and copy the code from the code boxes on that page.
- Paste the code into the corresponding (now empty) tabs in the StreamElements editor.

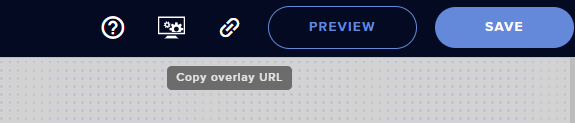
Step 3: Copy your Overlay URL
- Once your widget is in place and saved, hover over the link icon in the top right and click to copy your overlay URL.
Step 4: Add the Overlay to OBS
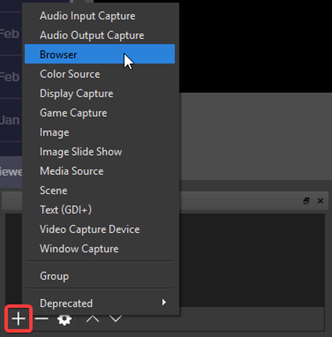
- In OBS, navigate to your Sources panel.
- Click the + button and choose "Browser".
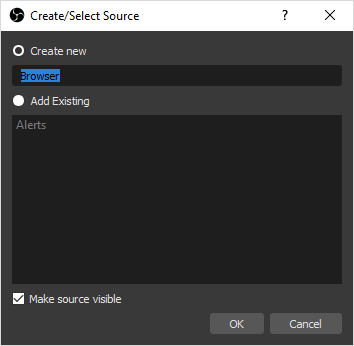
- Select "Create new", give it a name (e.g., "SEwidgets"), and click 'OK'.
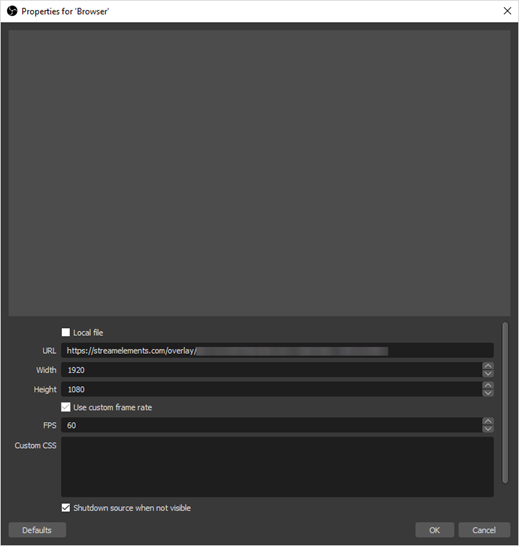
- A new window will appear for the properties. Set the options as follows:
- URL: Paste the overlay URL you copied in Step 3.
- Width: 1920
- Height: 1080
- FPS: 60 (or 30 depending on your stream settings).
- Custom CSS: Leave as default (empty).
- Click 'OK' and you're done! Your widget is now visible in OBS.